
- Direct-to-Film printing (DTF) is a process that allows users to print designs directly onto film. The design is then transferred onto a garment with an adhesive, producing within a few minutes a long-lasting, high-quality print. The only items a user needs is transfer film sheets, an adhesive powder and a heat press or curing oven.
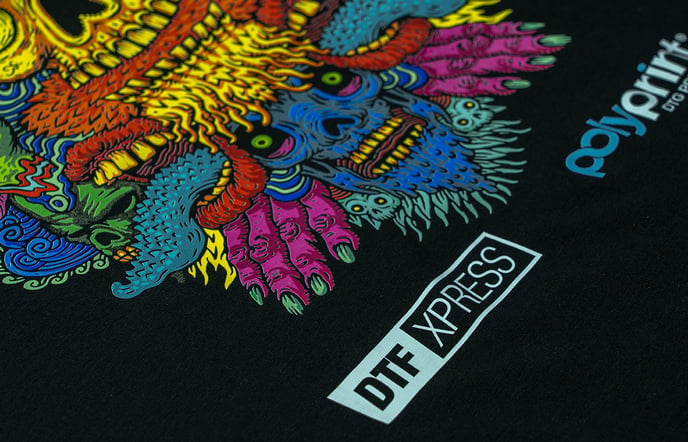
- Users can broaden their printing portfolio by printing on to nylon, dark polyester, polyblends and more without changing printers, ink type or RIP software.
- In addition, they are able to pre-print their designs on film and stock them for later.
- The DTF Xpress film and powder is compatible with the Polyprint inks powered by DuPont and the new Texjet TIP Ink series.
-
Application
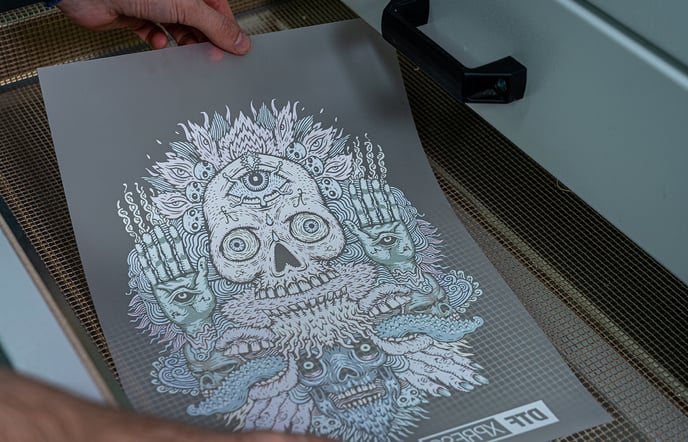
Once printing has finished, carefully lift the printed DTF Xpress transfer film.
Caution: As the inks are not dry, tilting the film will cause the ink to run. Keep the printed surface as levelled as possible.
Place the printed DTF Xpress transfer film facing upwards, in a sufficiently big container, so it remains flat.
Apply the DTF Xpress adhesive powder on the printed area of the film. Distribute the powder as evenly as possible to obtain the desired coverage.
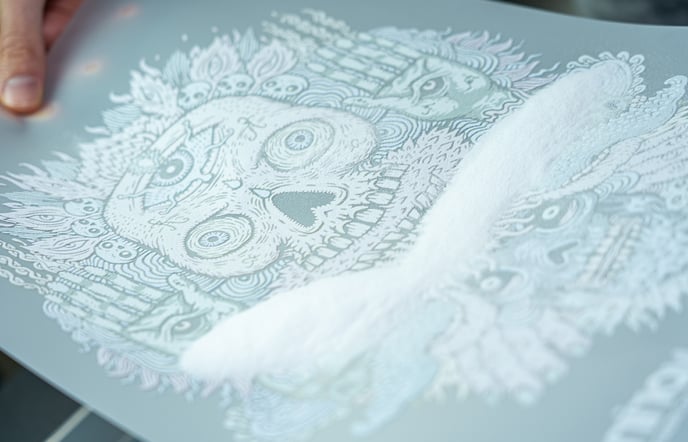
Note: If the powder has formed small pellets, smooth them out inside the powder container. If one of those small pellets reaches the inks it may cause uniformity issues.
Shake off the excess powder and flick the sheet hard so all particles are dusted away.
Tip: The excess DTF Xpress adhesive powder can be reused, so store it again in its container. If small particles have been dyed from the inks discard them and save only the clean powder.
-
Activation
Caution: Do not touch the printed surface and again, try not to bend the film.
“Bake” the film to melt the DTF Xpress adhesive powder, using a heat press or an oven dryer. You can opt between to alternatives:
-
- Cure for 60 seconds at 160oC (320F) using the oven dryer.
- Cure for 150-180 seconds at 160oC (320F) using the heatpress hover option.
Caution: When using a heat press you must hover over the film and not press it, otherwise you will ruin the whole process. The press' plates should have about 1cm (0.4 inch) width, so heat loss is avoided.
Tip: The times mentioned above are sufficient for a 28x28cm design. If your file has larger dimensions then proceed on curing for further amount of time, like 90 seconds in the oven and 4 minutes in hover. This way, the powder melts sufficiently all over the print and the water from the inks evaporates, eliminating humidity spots.