
- An ink charge is the process of filling the printer’s ink flow route – from the cartridges into the tubes, dampers and finally to the printhead, with fresh ink.
- Empty and reset the maintenance tank
- Ensure that you have the Epson driver installed
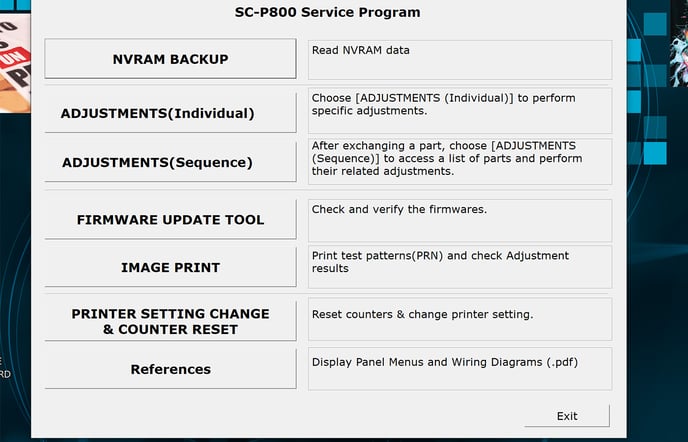
- Open the Adjustment Program, to do this right click on the Epson Service Program and run as administrator. This is located on the USB key that came with the printer, alternatively, you can download a copy here.
- Press OK.
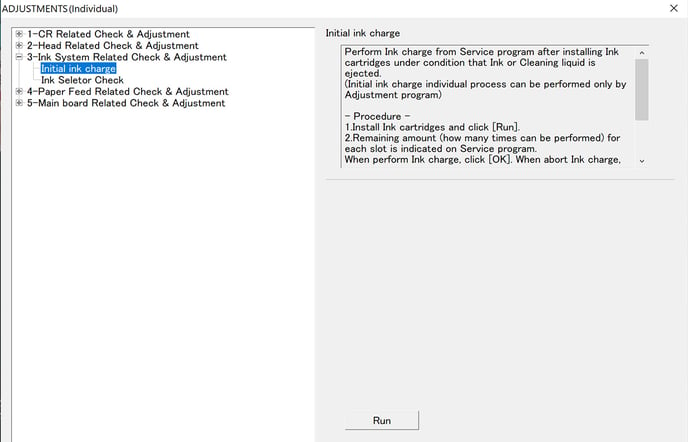
- Select 'Adjustments (Individual)'
- Select 'Ink System Related Check & Adjustment' (3rd option) and then 'Initial Ink Charge'.
- Click 'Run'
Caution: Be careful! The Ink charge takes about 10 minutes, so do not turn off or unplug TexJet echo2 while the ink charge is running.
- After the ink charge is complete, perform a head clean and a nozzle check. If the test comes out poor, perform an additional head clean followed by a nozzle check to confirm that you have a full nozzles.
The Ink Charge will then be complete, and you can then proceed with printing.