
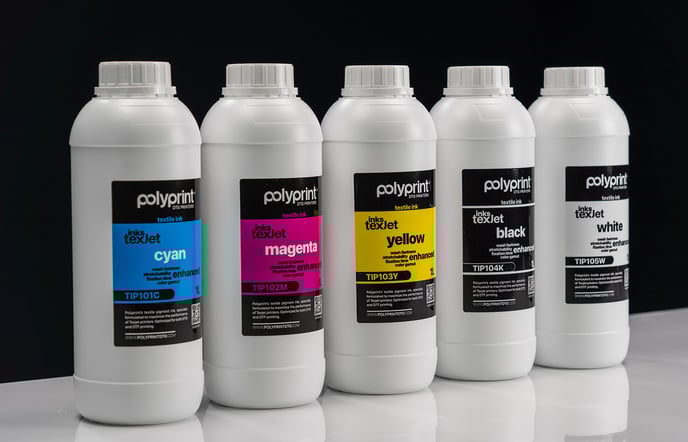
TIP A TexJet Inks are PolyPrint's new official ink solution. They are specifically formulated to optimise the performance of the whole range of TexJet printer models. Some of the benefits of the new formulation includes:-
- Reduced cost of ink resulting in lower cost per prints
- Lower fixation times, 60 seconds for dark garments and 40 seconds on light garments
- Superior white coverage providing a more vibrant print
- Enhanced stretchability and improved feel of hand
- Extended colour gamut resulting in higher colour accuracy
Products required to complete the conversion process
- 9 new refillable cartridges
- A full set of inks
- Cleaning solution
-
Safely discharging ink from the ink flow route
- To safely swap from your current inks to the TIP A Inks you must put cleaner through the ink flow system, so that any old ink will be removed from the lines and the new inks will be able to load successfully. Completing the cleaner charge will also help to prevent the two ink formulas from mixing and leading to unwanted clogging issues.
- The Cleaner Charge and the Ink Charge are the same in means of equipment and are executed via the Adjustment Program. The main difference is that you use cleaning solution instead of ink and a very powerful printhead cleaning is performed, as the system is drained from ink.
- Make sure that you have the correct driver installed for your printer prior to completing the cleaner charge and ink charge.
Before completing the cleaner charges, make sure your maintenance tank is empty and reset, so there is no risk of spillage and bringing the tank close to the end of its maintenance life.
Procedure:
- Ensure the maintenance of the capping station, wiper blade and around the print head has been completed sufficiently. Follow the instructions here.
- Remove the ink cartridges from the printer’s ink system. Thoroughly empty the DuPont ink from the existing cartridges, trying to remove as much ink as possible.
- Fill the Cartridges with the Dupont cleaning solution. It is highly recommended to use the same brand as the inks that were installed in the printer.
- Place the cartridges that contain the cleaning solution into the corresponding slots in the printer.
- Power on the printer as usual, following the instructions on the Platen Control Panel and proceeding with the messages on the Printhead Control Panel.
- Make sure that the printer is at "READY TO PRINT" state.
- Connect your printer via USB to your PC or laptop.
- Open the Adjustment Program in the Echo 2 Files folder on your desktop.
- Perform 2 cleaner charges from the Adjustment Program, Leaving 5-10 minutes in between each charge so the ink flow route is clean from ink residue.
- Perform a nozzle check to make sure that all channels are printed transparent
- Ensure that the ink flow route appears clear of ink, with the ink lines no longer showing any colour residue.
-
Safely re-introducing ink into the ink flow route
- The Ink charge is the same procedure as the Cleaner charge but this time ink is used to fill the system instead of cleaning solution.
Procedure:
- Remove the ink cartridges that contain the cleaning solution from the ink system.
- Fill the new refillable cartridges with the TIP A inks
- Place the cartridges that contain the TIP A Inks into the corresponding slots in the printer.
- Power on the printer as usual, following the instructions on the Platen Control Panel and proceeding with the messages on the Printhead Control Panel.
- Make sure that the printer is at "READY TO PRINT" state.
- Connect your printer via USB to your PC or laptop.
- Open the Adjustment Program in the Echo 2 Files folder on your desktop.
- Perform an ink charge from the Adjustment Program
- After the ink charge is complete, perform a nozzle check, to see if all nozzles are present.
- If the nozzle check comes out poor, perform an additional head cleaning.
- Update Digital Factory with the latest driver to get the latest colour profiles. As the new ink configuration contains a new ink formulation, you must setup the new colour profiles in Digital Factory before printing. This will ensure that you achieve accurate colour reproduction.
The TIP Conversion will then be complete, and you can proceed with production.
Moving forward you will need to use the TIP Ink Cleaning solution alongside the TIP A Inks.
If you need assistance completing the TIP Conversion process or updating Digital Factory, please request assistance from the Amaya support team.
- Once you have converted you can register on the PolyPrint portal to receive your free set of inks.
Please note the promotion of the free set of inks is valid until 30th September 2024
-
Video Instructions