
- A Nozzle check pattern is printed in order to check the condition of the Printhead. A nozzle check should always be performed at the start of the production, after your first head clean, to make sure the Printhead is in excellent condition and will give you the best possible quality.
- If there are nozzles or even entire channels missing, this is a strong indicator that your printhead needs a cleaning.
Procedure:
- Wake-up your printer correctly, following the Wake-Up Procedure.
- Eject the platen using the Eject Platen Button (7).

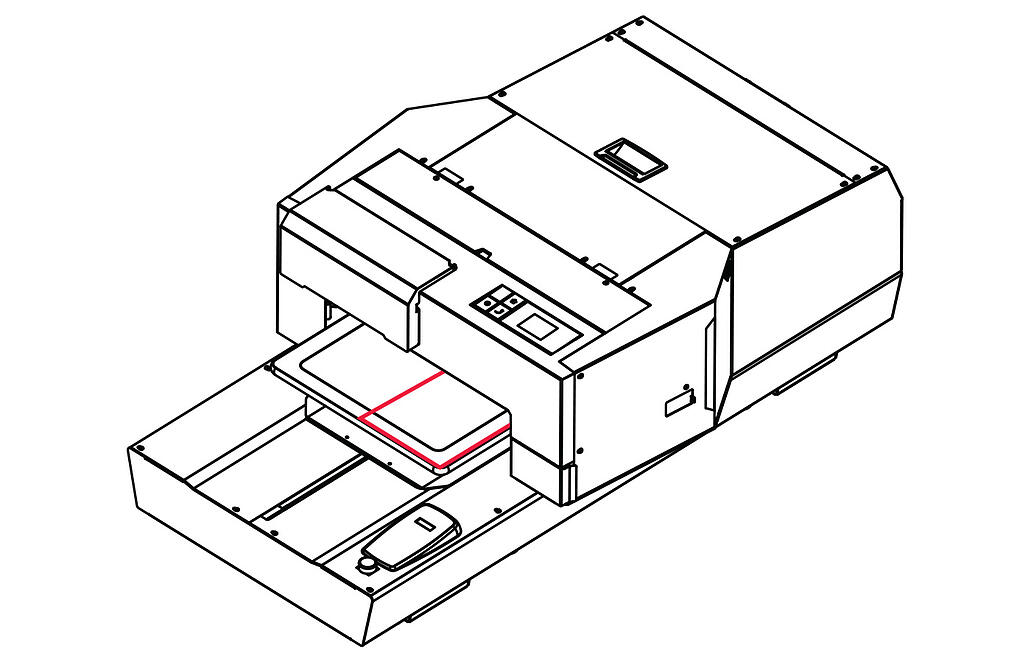
- Place a transparent sheet/acetate on the left corner of the platen.
- Perform the Auto-Height Adjustment process. Press the AUTO button (2) on the Platen Control Panel to set the platen at the ideal distance from the Printhead.
- Send the Platen inside by pressing either the Start Position button (8) or the blue button seperate to the control panel.
- On the top screen, also known as the Printhead Control Panel, tap on Settings. Choose Maintenance and then Print Head Nozzle Check.

- Check the printed pattern on the sheet. All eight channels should be visible together with their nozzles.

- If there are gaps (missing nozzles) perform a Head Cleaning or a Heavy Head Cleaning - depending on the severeness of the missing nozzles, to recover them.
