EMT16X Installing the Wide Angle Driver
Red Wide Angle Driver Installation
Video Demonstration:
Both the cap frames and the micro clamps utilize the Wide Angle Driver. The Red Wide Angle Driver consists of two pieces:
• The (red) cap frame driver ring
• The lower arm bracket
IMPORTANT: You must ALWAYS select the proper cap frame hoop in the software when sewing with cap frames. Failure to do so may result in damage to your equipment!
-
1. Start with the correct hoop selected and displayed on screen.
-
2. Center the hoop on the machine by either pressing the “Hoop” and “Center” keys simultaneously on the machine keypad or pressing the “Move To Center” button under the Move Screen in the software. This will move the machine to an easier position for installing the cap driver. If the hoop is already at center, this button will be slightly transparent and unavailable.
On the machine pad or

in the software
-
3. It is also beneficial to move the machine to either needle 8 or needle 9. This can be done by pressing the “Needlecase” key and the “Left” or “Right” arrow key on the machine keypad.

-
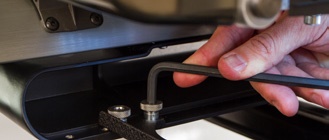
4. If attached, remove the hoop arms from the machine. To do this, use a 6mm Allen wrench to loosen the two thumb screws attaching each arm. Unscrew them and remove the arms.
WARNING: Failure to remove the hoop arms will result in the wide angle driver colliding with the arms during sewing.
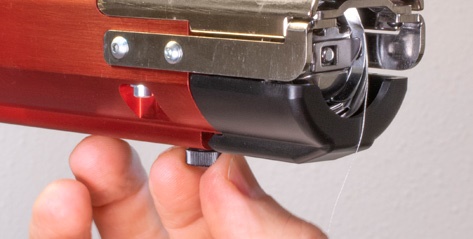
5. Remove the hook guard:
For EMT16X
Loosen the thumb screw securing the hook guard and slid it away from the machine.
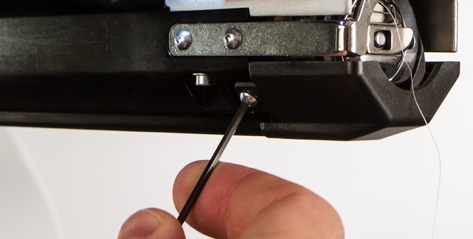
For EMT16, EMT16 PLUS, & most previous models
Using a 2mm hex wrench, loosen the two button head screws securing the hook guard and slide it away from the machine.
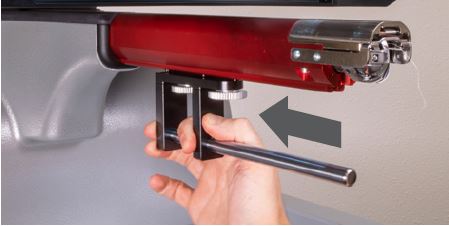
6. Loosen the knobs of the lower shaft support until the top of screws are flush with the t-nut.
7. Slide the shaft support mount into the lower arm extrusion and toward the back of the machine until it contacts the hard stop. It should slide smoothly into the t-channel. The t-nut must go all the way back to the hard stop or the shaft will be set too far forward on the machine.
For EMT16X
For EMT16, EMT16 PLUS, & most previous models
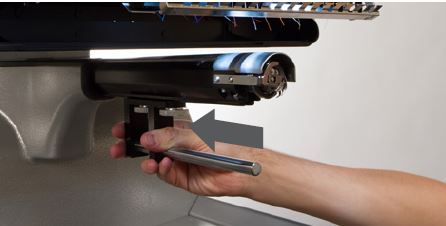
For EMT16X
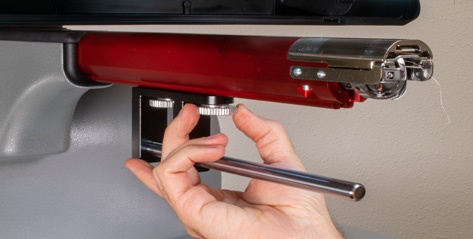
For EMT16, EMT16 PLUS, & most previous models
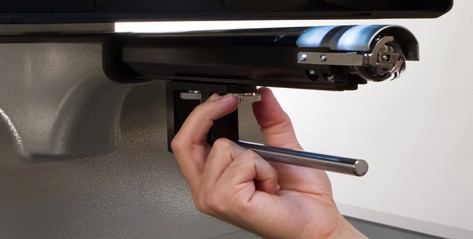
-
9. Reattach the hook guard by sliding it back into place and tightening the screw(s).
-
10. A few drops of sewing machine oil should be applied to the lower support shaft prior to the initial installation of the driver ring assembly. Later installations should not require this step.
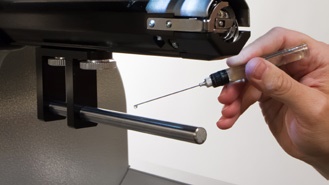
-
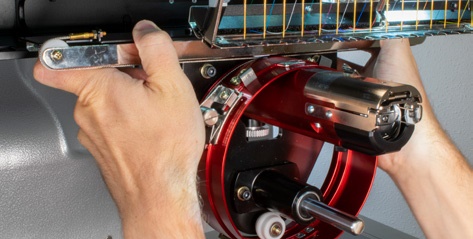
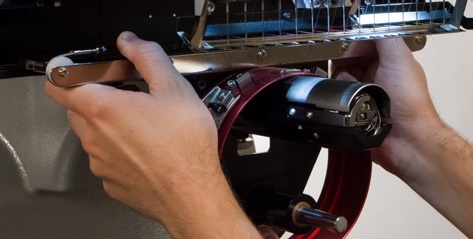
11. Slide the red driver assembly onto the lower arm and support shaft. This may be easier if the grabber bar of the machine is closed. To close the bar, simultaneously press the “Adjustment” and “Center” keys on the keypad of the machine.

Then, slide the red driver assembly onto the lower arm and support shaft. Notice the orientation of the ring in the picture.
For EMT16X
For EMT16, EMT16 PLUS, & most previous models
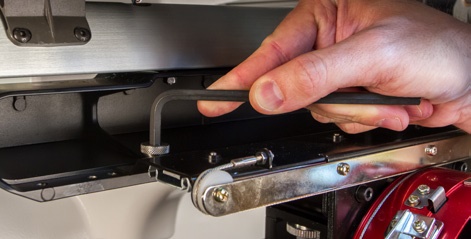
12. Using two of the thumb screws from the hoop arms, attach the red driver to the x-carriage of the machine. The driver will attach to the two innermost holes. Tighten them to finger-tight, and then use a 6mm Allen wrench to tighten an eighth to quarter turn more. Do not over-tighten the screws as they are designed to break before damage to the machine can occur.
The red driver ring should slide easily over the lower arm of the machine and should allow for a business card or two to fit between the ring and the lower arm. The space should be enough for the card(s), but no more. If the gap between the ring and the lower arm is incorrect, or if you are unable to install the driver, it will need to be adjusted. See the adjustment section for instructions on how to
test and adjust.
-
13. The Red Wide Angle Driver is now installed and ready to use.
Remove the support wings if using the Conventional Cap Frame or micro clamps. Support wings may also need to be removed when design size pushes the physical limits of a specific cap.
