Laser Tattoo Paper Instructions
2 Paper System
Only for Laser Printers
Print Setting: Multi-Purpose Tray, 175g paper or higher.
Image Mode: Mirrored
Preperation:
-
Hold the paper at a slight angle in the light to recognize the coated side. Print your design in mirror image mode onto the coated side of the A-Paper.
-
Use a white toner printer if you want to transfer on dark skin or dark surfaces or, if you want to use white colour in the design.
-
If you use an ink-jet printer make sure that the print-out is completely dry before going to the next step.
1. Peel
-
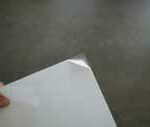
Peel off a corner of the white backing paper from the B-Foil and fold it over.
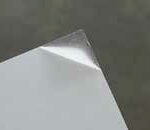
2. Place
-
Place the A-paper face up on a flat surface.
-
Stick the exposed piece precisely on the corner of the A-paper.


2. Prepare Transfer
-
Use a squeegee, ruler or something similar to push the B-foil backing paper away by rubbing over the B-foil. Now the glue is applied and the tatoo paper is ready for transfer.
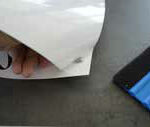
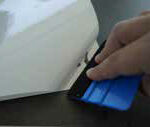
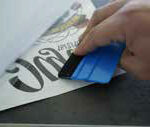
2. Transfer
-
Cut around the design as exact as possible
-
Peel of the glossy foil
-
Now stick it on the desired position
-
Moisten the surface of the paper with water and manually apply pressure to make sure that it sticks well.
-
After a few seconds you can slide the paper aside.
Note – The tattoo has a high adhesive effect. The durability is about one week.
A-PAPER
The printable side of the A-Paper is semi-matt.
The non-printable side is completely matt!
B-FOIL – GLUE
The B-Foil has a matt and glossy side. The matt side is the backing paper and it will be disposed of after peeling it off from the foil.
